We use cookies to make your experience better. To comply with the new e-Privacy directive, we need to ask for your consent to set the cookies. Learn more
Bird bookmark DIY
September 13, 2024
4
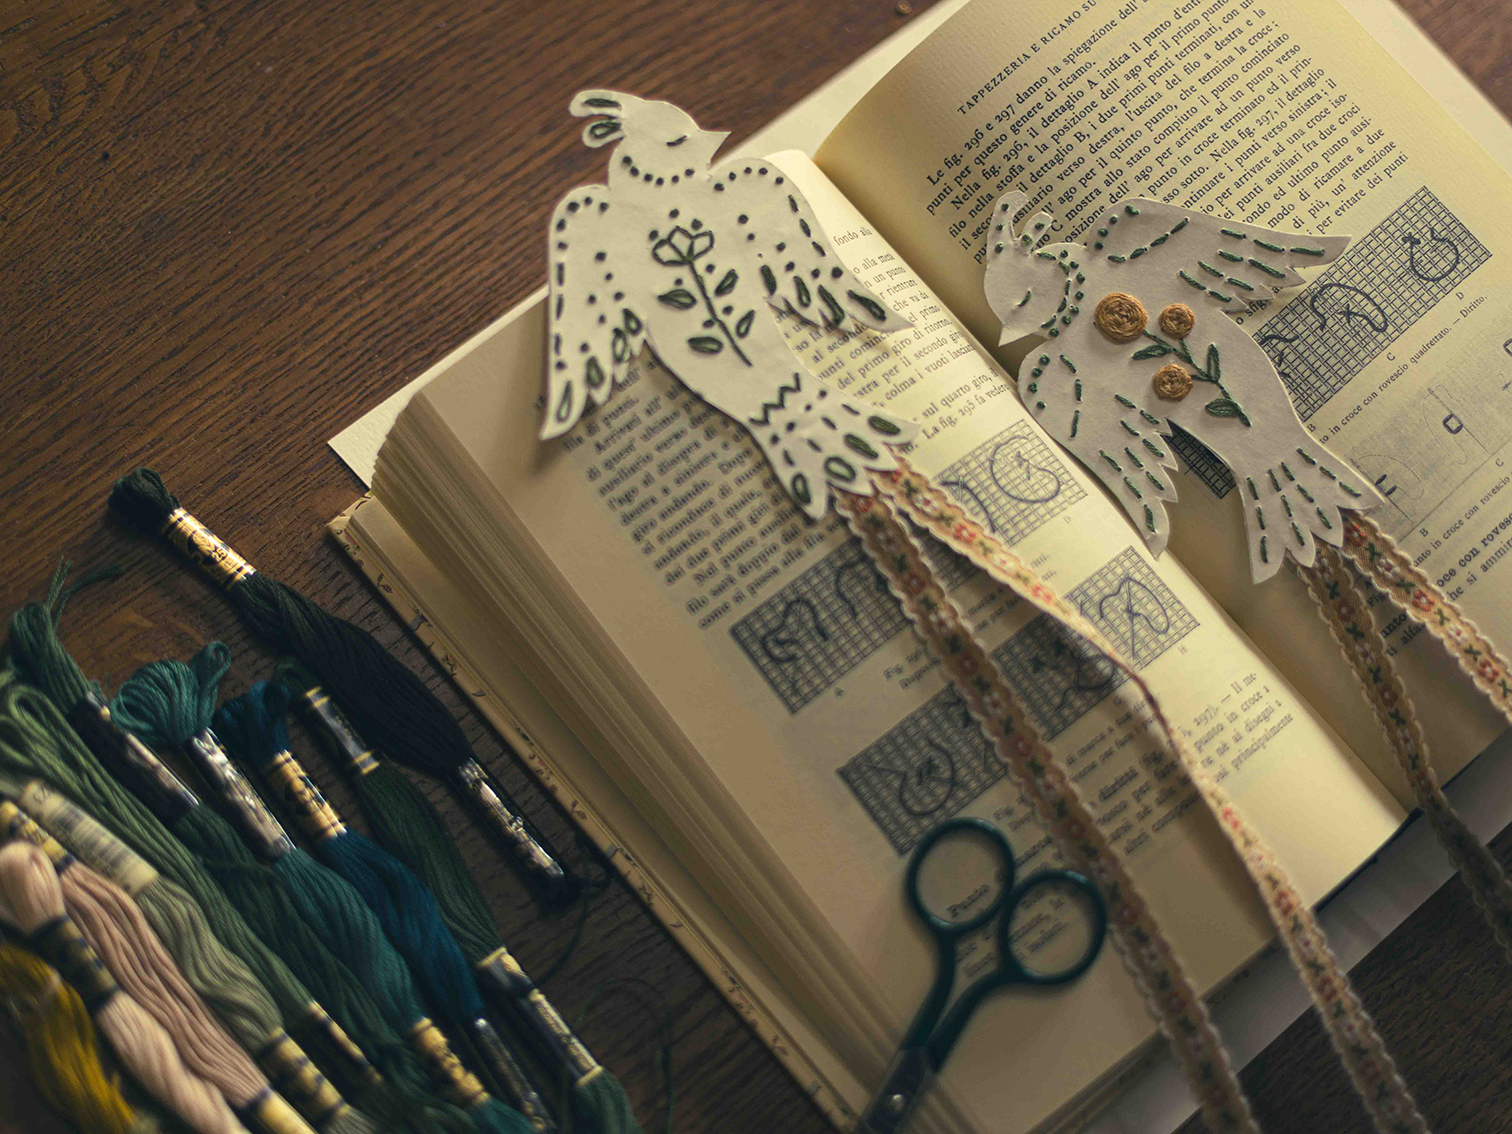
Bookmark DIY: craft your own reading companion!
As the days grow colder, there’s nothing more tempting than snuggling up under a soft blanket by the fire, with a warm cup of tea in one hand and your favorite book in the other.
If you love reading as much as you enjoy crafting, we invite you to try this DIY project: create your own bird-shaped bookmark. It’s the perfect way to lose yourself in your favorite stories without ever losing your place!
To make this DIY, you need:
- one or two sheets of white paper
- sturdy watercolor paper, or Bristol board
- one large embroidery needle
- embroidery threads (single or multiple colors)
- a decorative ribbon
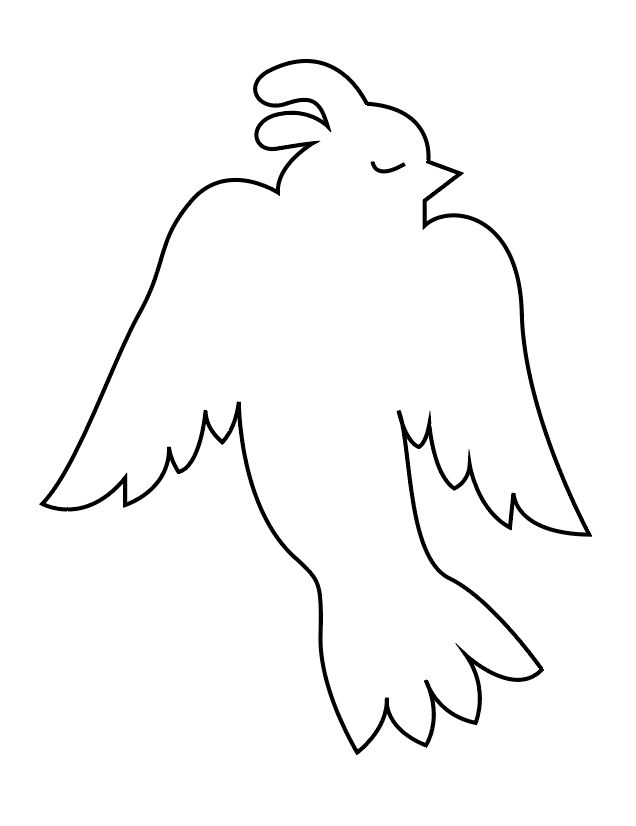
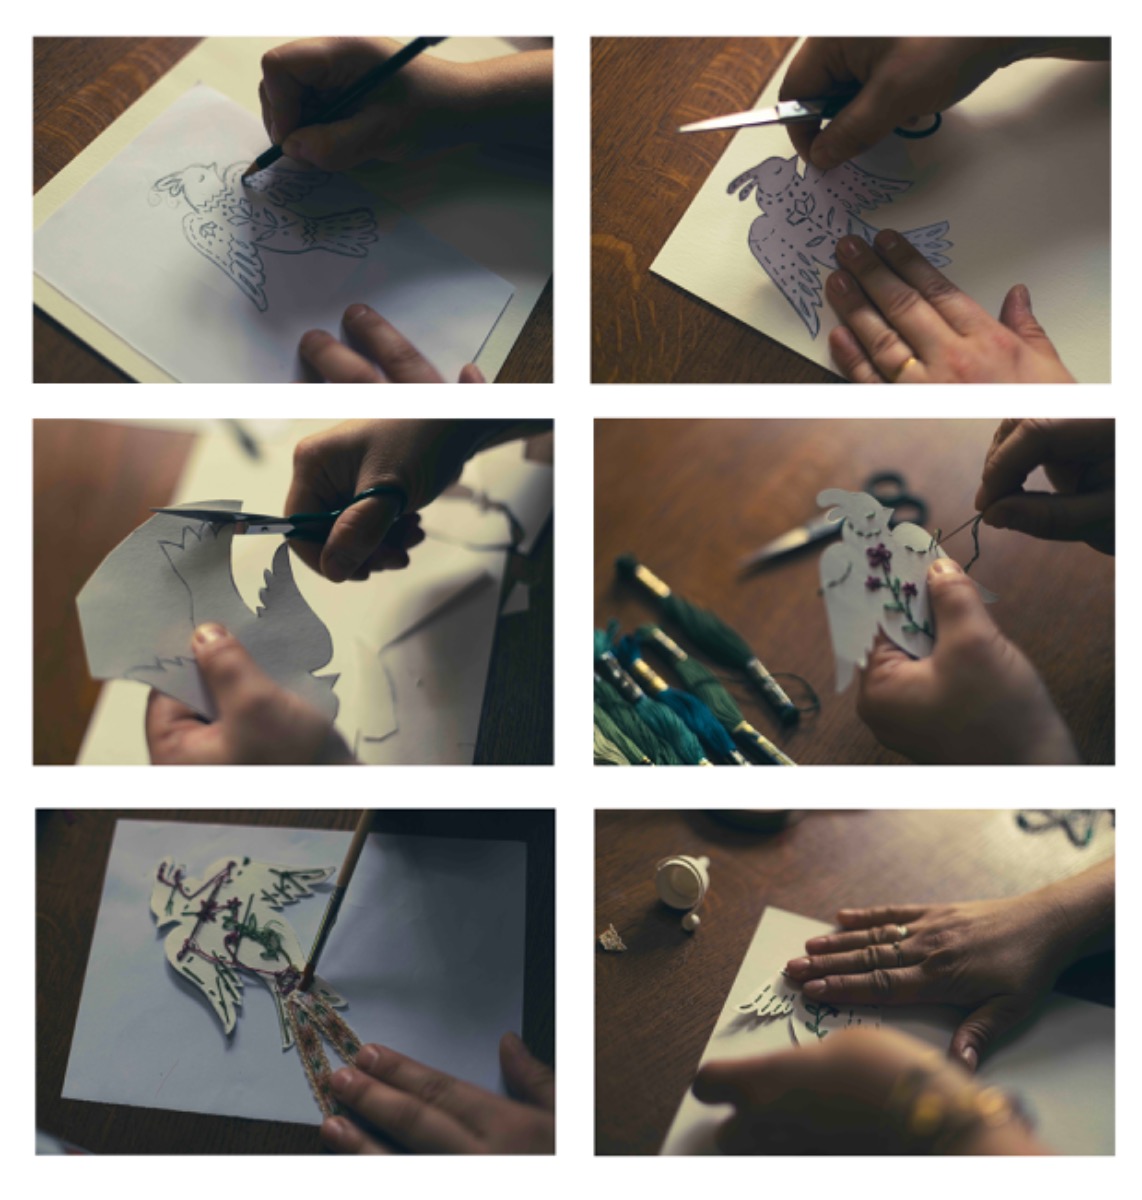
Start by sketching the outline of your bookmark on the white paper, including the design for the embroidered details. You can use our template or create your own—it’s all up to your imagination!
Once your design is complete, transfer it onto the watercolor paper or Bristol board and cut out the shape of the bookmark.
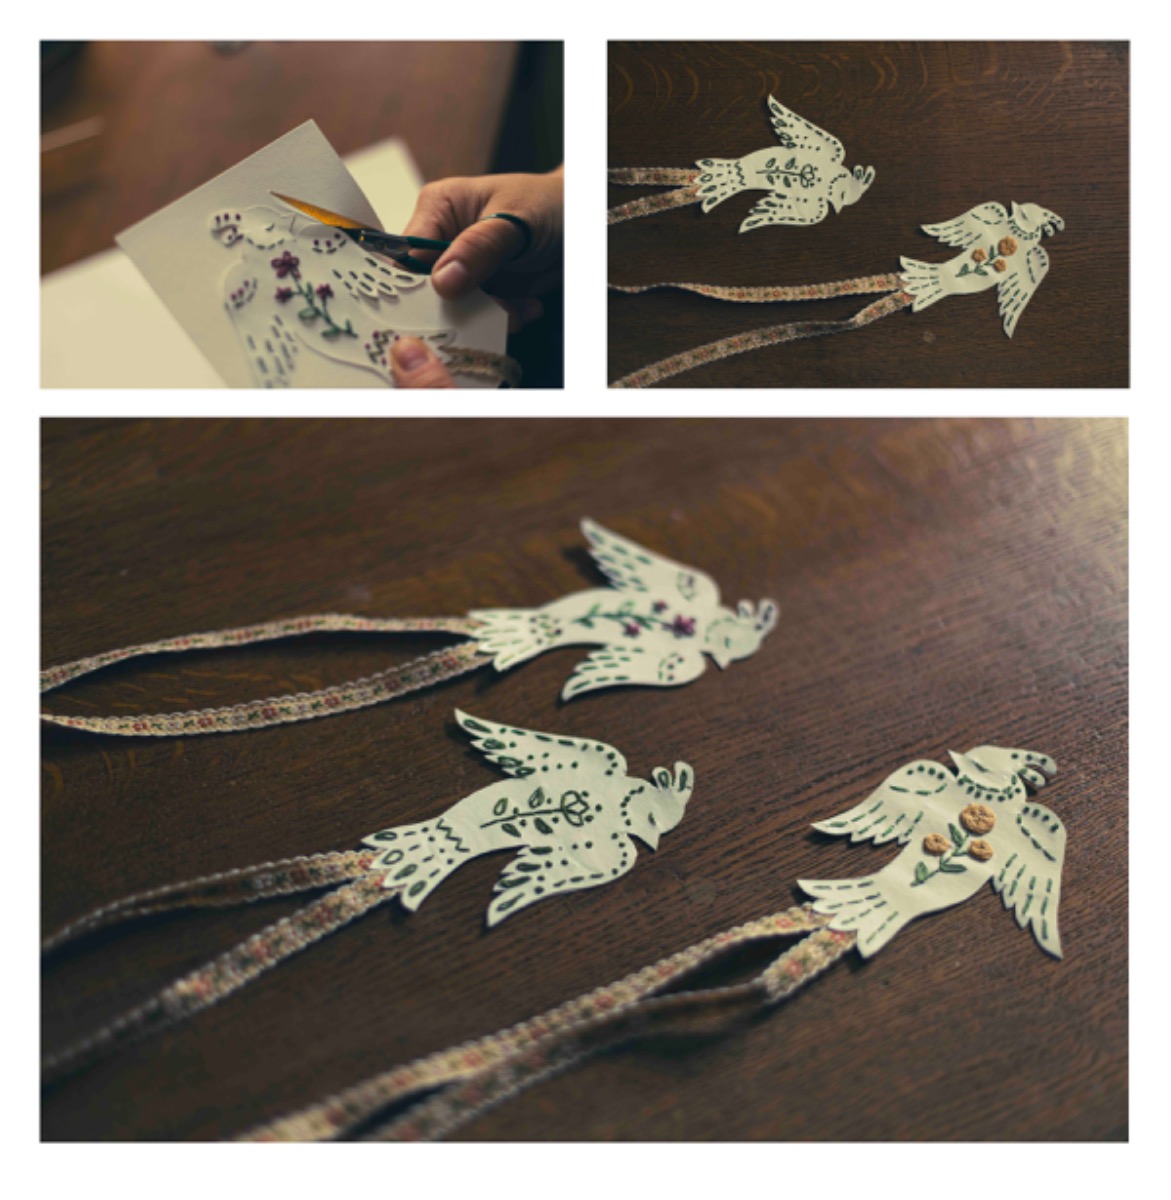
Using the embroidery thread, stitch your design onto the cut-out. Whether you choose a single color or a vibrant mix, it’s your chance to get creative! Attach the ribbon to the back of the bookmark.
To cover the back of the stitches and secure the ribbon, cut a second bookmark shape from the board and glue it to the back. And just like that, your handcrafted bird-shaped bookmark is ready to accompany you on your next literary adventure!
Recent Posts
Thank you, doing in black felt white and primary stitches